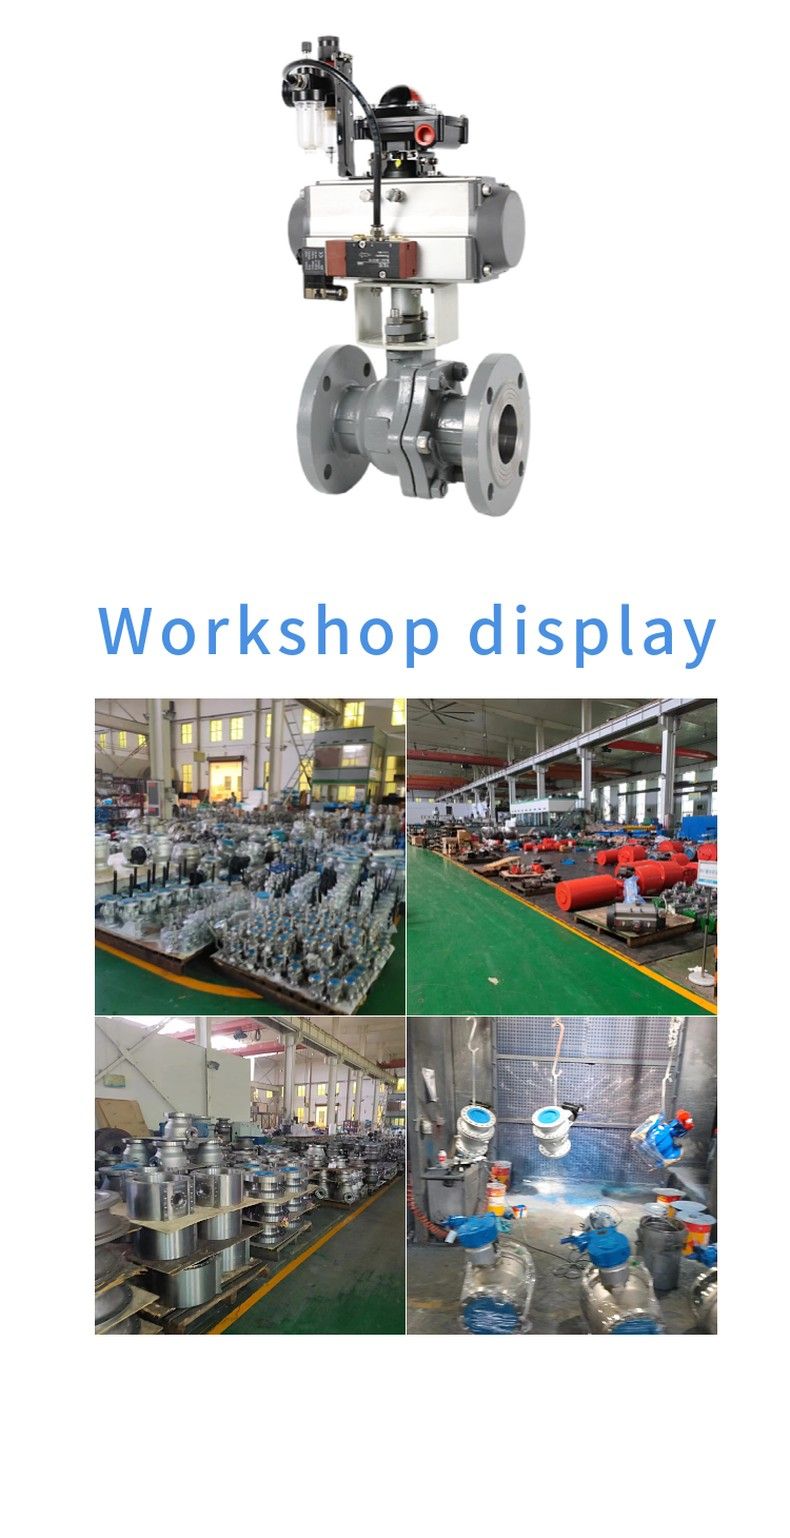
Home >> Products >> Ball valve
1, wear resistance; Because the valve core of the hard sealed ball valve is alloy steel spray welding, and the sealing ring is alloy steel surfacing welding, the hard sealed ball valve will not wear too much when switching (hardness coefficient is 65-70)
2, sealing performance is good; Because the seal of the hard seal ball valve is manually ground, until the spool is completely consistent with the seal ring. So his sealing performance is reliable.
3, light switch; Because the bottom of the sealing ring of the hard sealed ball valve uses a spring to closely connect the sealing ring with the spool, when the external force exceeds the pre-tightening force of the spring, the switch is very light.
4, long service life: has been widely used in petroleum, chemical industry, power generation, paper making, atomic energy, aviation, rockets and other departments, as well as People's Daily life.
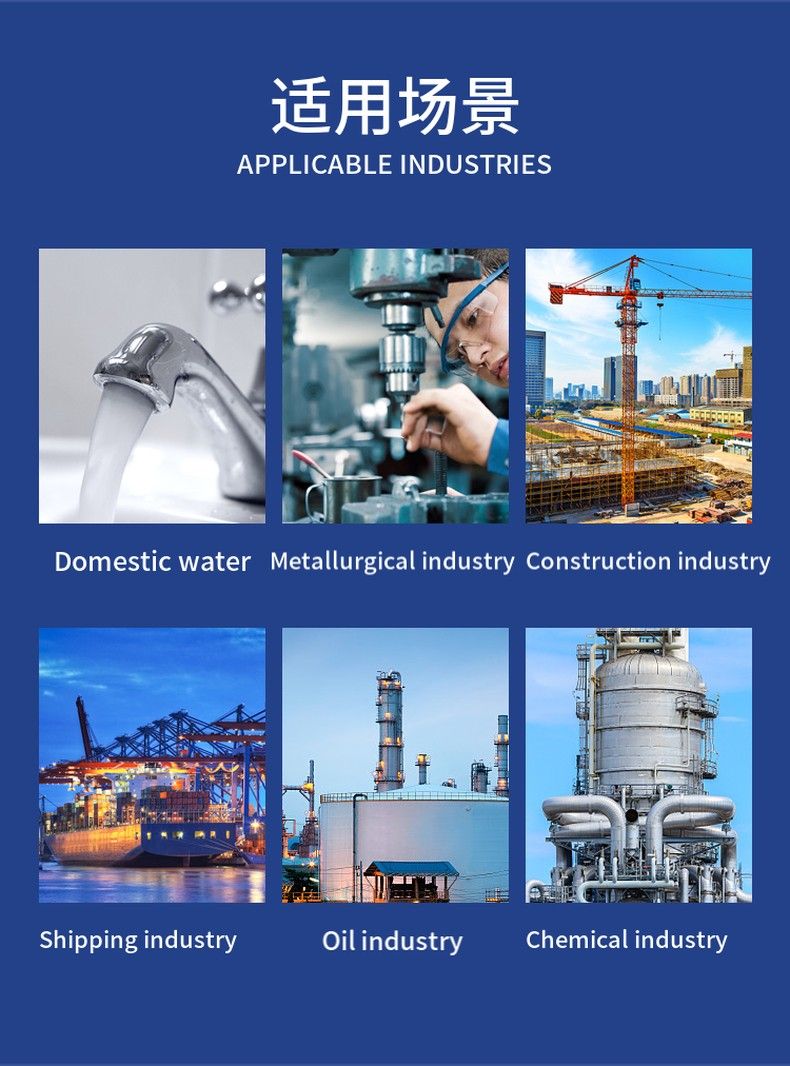
1. Indoor devices or outdoor applications with protective methods;
2. outdoor outdoor devices, wind, sand, rain, sunlight and other erosion;
3. flammable, explosive gas or dust environment;
4. hot and humid zone, dry tropical environment;
5. Pipeline medium temperature up to 450ºC or more;
6. The ambient temperature is below -20ºC;
7. Easy to be flooded or soaked;
8. Have radioactive material (nuclear power plant and radioactive material test equipment) environment;
9. Ship or dock (salt spray, mold, damp) environment;
10. Occasions of severe vibration; Prone to fire occasions;
1) Before operation, it must be confirmed that the pipe and valve have been washed.
2) The operation of the valve drives the valve stem to rotate according to the input signal size of the actuator: the valve is closed when it is rotated 1/4 turn (90°) in the forward direction. When the reverse rotation is 1/4 turn (90°), the valve opens.
3) When the actuator indicates that the arrow is parallel to the pipe, the valve is open; When the indicating arrow is perpendicular to the pipe, the valve is closed.
With a long service life and maintenance-free period, it will rely on the following factors: normal working conditions, maintaining a harmonious temperature/pressure ratio and reasonable corrosion data.
When the ball valve is closed, there is still pressure fluid in the valve body.
Before repair: Release the pipeline pressure, make the valve in the open position, disconnect the power or air source, and separate the actuator from the support.
Before disassembling and decomposing operation, the pressure of the upstream and downstream pipelines of the ball valve must be checked first.
In the process of disassembly and reassembly, care must be taken to prevent damage to the sealing surface of the parts, especially non-metallic parts. Special tools should be used when removing the O-ring.
The bolts on the flange must be tightened symmetrically, gradually and evenly.
The cleaning agent should be compatible with the rubber parts, plastic parts, metal parts and working media (such as gas) in the ball valve. When the working medium is gas, the metal parts can be cleaned with gasoline (GB484-89). Non-metallic parts can be cleaned with pure water or alcohol.
Non-metallic parts should be removed from the cleaning agent immediately and should not be soaked for a long time.
After cleaning, it is necessary to volatilize with washing wall cleaning agent (can be wiped with a silk cloth that is not soaked in cleaning agent) to assemble, but it should not be put on hold for a long time, otherwise it will rust and be polluted by dust.
New parts should also be cleaned before assembly.
During the assembly process, there shall be no metal debris, fiber, oil (except for prescribed use), dust and other impurities, foreign matter and other pollution, adhesion or stay on the surface of the part or into the inner cavity. Lock the stem and nut if a microleak occurs in the packing.
A), remove
Note: Do not lock too tightly, usually another 1/4 to 1 turn and the leak will stop.
Leave the valve in a half-open position and rinse to remove any dangerous substances that may be present inside and outside the valve body.
Close the ball valve, remove the connection bolts and nuts from both flanges, then completely remove the valve from the pipe.
Remove, in turn, the drive - actuator, connection bracket, lock washer, stem nut, butterfly shrapnel, Gnam, wear plate, stem packing.
Remove the body cover connection bolts and nuts, separate the valve cover from the body, and remove the valve cover washer.
Verify that the ball is in the closed position, which makes it easier to remove from the body, then remove the seat.
Push the stem down through the center hole in the valve body until it is fully removed, then remove the O-ring and understem packing.
B), reassemble.
Note: Do this carefully so as not to scratch the stem surface and the sealing part of the body packing box.
Clean and inspect the removed parts, and it is highly recommended to replace seals such as seats and cover washers with spare parts kits.
Assemble in reverse removal order.
Cross lock flange connection bolts with specified torque.
Lock the stem nut with the specified torque.
After installing the actuator, input the corresponding signal and drive the spool to rotate by rotating the valve stem so that the valve reaches the switching position.
If possible, perform a pressure seal test and performance test on the valve according to the relevant standards before installing the pipe back.
